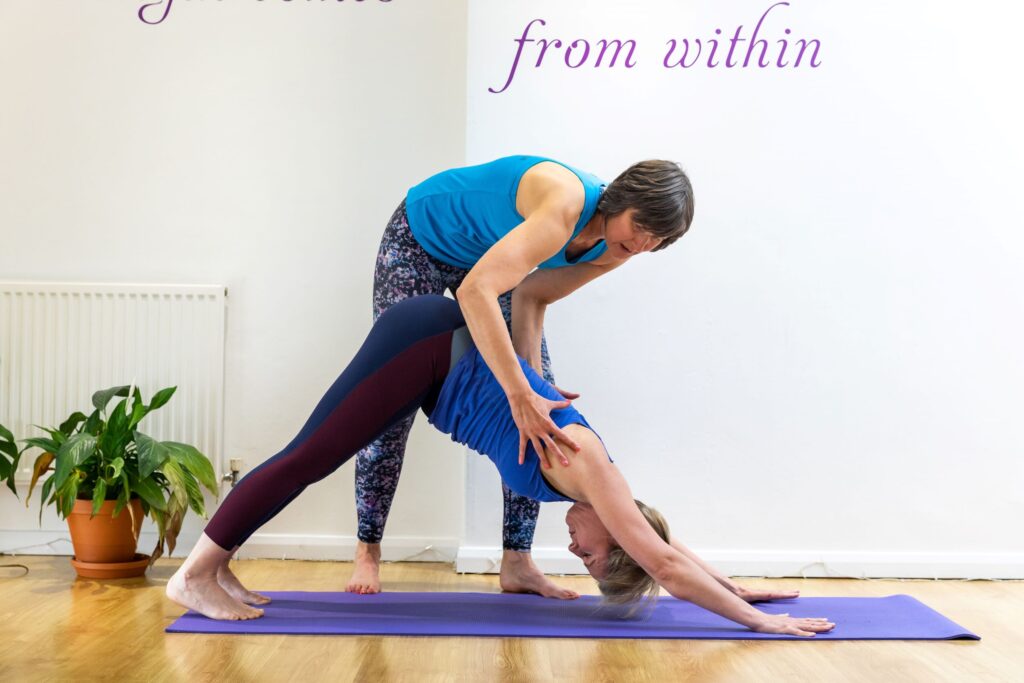
Revisiting Downward Facing Dog: A Deeper Dive into Yoga Foundations
At the tender age of 24, I found myself grappling with Downward Facing Dog in a bustling yoga class at Gold’s Gym in London. At the time, I was working as a full-time gym instructor, personal trainer and studio co-ordinator. I was young, fit, healthy and body aware, so accessing downward facing dog during this class must have been a breeze, right?
WRONG!!! Despite my background in fitness and body awareness, the simplicity of this pose proved deceptive. As I persevered, strained and shook, my muscles beginning to tire and sore if not scream(!) the teacher casually mentioned we were in a ‘rest’ pose. “A REST pose!?” my mind objected, as it began to internally swear in protest!
I am always bewildered when I see Downward Dog listed as a ‘beginner’ pose, even by top experts in the industry. Every time I guide a yoga class or teacher training, whether for seasoned practitioners or newcomers, I witness the challenges and misconceptions surrounding this asana.
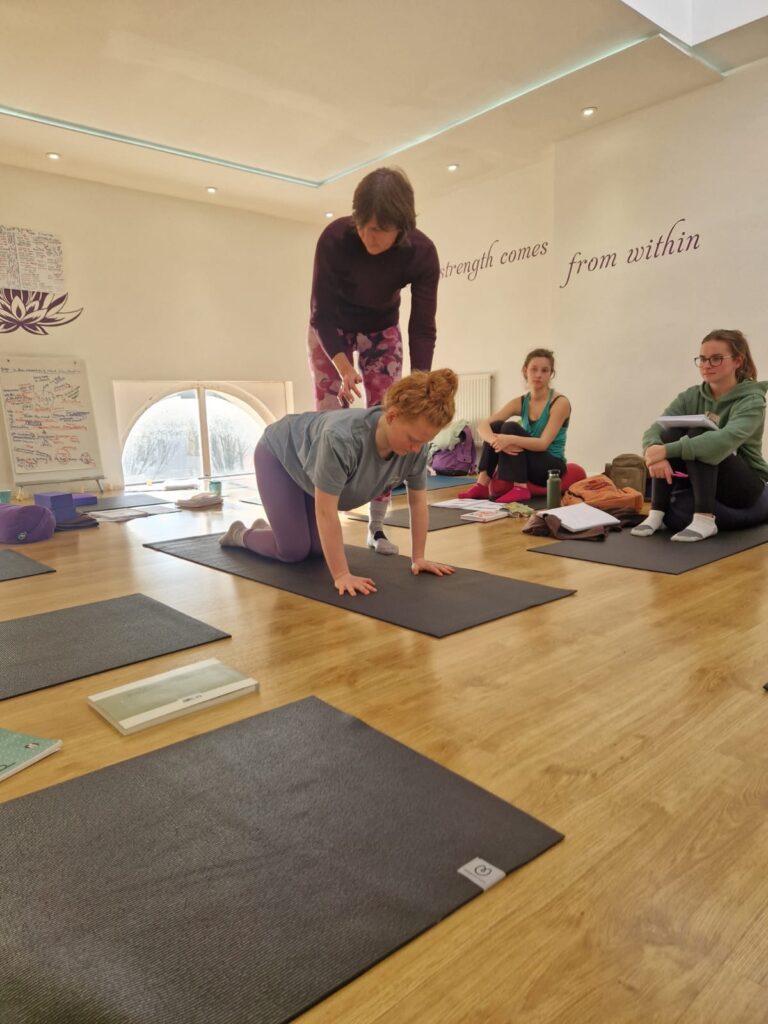
During our yoga teacher training courses, we discuss the stepping stones that I would recommend before introducing this posture to those new to yoga. On our last course, we even themed an entire class around Downward Dog as a ‘peak’ pose, rather than a ‘rest’ pose. Even though these aspiring teacher trainees had done downward facing dog hundreds of times, it had mainly been taught as a transitional pose. The group valued the thoughtful approach we took in dissecting the pose and expressed a tangible sense of improvement and feeling the difference as a result. Initially aimed at beginners, consequently, we collectively concluded that the class structure would better cater to a mixed-level group. Read on to find a recording of the class that you can try for yourself!
Over the years, my journey with Downward Facing Dog has evolved, prompting a deeper exploration into its intricate mechanics and profound benefits. Here, I share my insights into why labeling it as a beginner’s pose may overlook its depth, along with practical strategies to unlock its potential for practitioners of all levels.
Why Downward Facing Dog is more than a beginners pose
Complexity:
Downward Facing Dog is not merely a static pose but a dynamic combination of a partial inversion, forward fold, AND an arm balance – there’s a lot going on there!
Body Awareness:
To perform this posture safely, a high level of body awareness is important to prevent mechanical stress and overload on vulnerable areas such as the wrists and shoulders.
Shoulder Engagement:
The posture requires external rotation of the shoulders and depression of the scapulae, making it difficult for individuals who have excess tension in the chest, tops of the shoulders and neck to access these actions safely and effectively.
Alignment Concerns:
Poor alignment in this posture can exacerbate common conditions like carpal tunnel syndrome, shoulder impingement and repetitive strain injury (RSI), highlighting the importance of precise alignment cues.
Breath Restriction: Resistance in the body or excessive effort can restrict the breath, making it harder to hold the pose, hindering the flow of prana and diminishing the benefits of the pose.
Leg Strength and Stability: Strong and stable legs are essential to support the spine and upper body in Downward Facing Dog – this is so often overlooked!
Postural Considerations: Individuals with specific postural tendencies must cultivate awareness of spinal neutrality to avoid hyperextension or misalignment.
– Those with posterior pelvic tilts or a shortened back line often shift too much weight forward, overloading the shoulders and wrists and increasing tension.
– Hypermobile students or those with lumbar lordosis may hyperextend their spines. Awareness of neutrality is key – this can be taught as a pre curseor.
Open Back Line: To acess this posture without overload, necessitates openness in the entire back line of the body, from the calves and hamstrings to the erector spinae muscles along the spine. (Unless students have the afforementioned body awareness needed and are open to taking options which usually comes with a regular practice).
Impact on Mindset: Misconceptions about Downward Facing Dog as a ‘beginner’ or ‘rest’ pose may even deter people from returning to a class or pursuing yoga. It could foster feelings of inadequacy or disconnection from the practice as they may believe they’re ‘not good enough’ if they find it difficult.
Let’s explore some practical strategies to prepare for and approach Downward Facing Dog with mindful awareness, making it more accessible and beneficial for practitioners of all levels.
10 ways to prepare for Down Facing Dog to make it more accessible
- Prepare wrists before weight bearing with mobilisation, stretching, and warming up.
- Prioritise mobilisation, stretching, and warming up of the neck and shoulders to alleviate excess tension.
- Warm up rotator cuff muscles and emphasise shoulder and scapular stabilisation. Practice palms facing up, elbows drawn into the ribs, and forearm movements. Extend arm to the side, hands in a fist with thumbs up, internally and externally rotating opposite shoulders. Incorporate neck stretches – delicious!
- Practise scapular protraction, retraction, elevation, and depression while sitting or standing.
- ‘Armpit bandha’ – Focus on scapular depression and awareness of the serratus anterior muscle connecting to the Latissimus Dorsi, both in non-weight bearing and weight bearing positions.
- Open up the back line through supine hamstring and calf stretches, hugging knees to chest, practising cat/cow, and performing standing forward folds.
- Establish a solid foundation in 4-point kneeling, emphasising hand placement, scapular setting, shoulder stability, and awareness of a neutral spine.
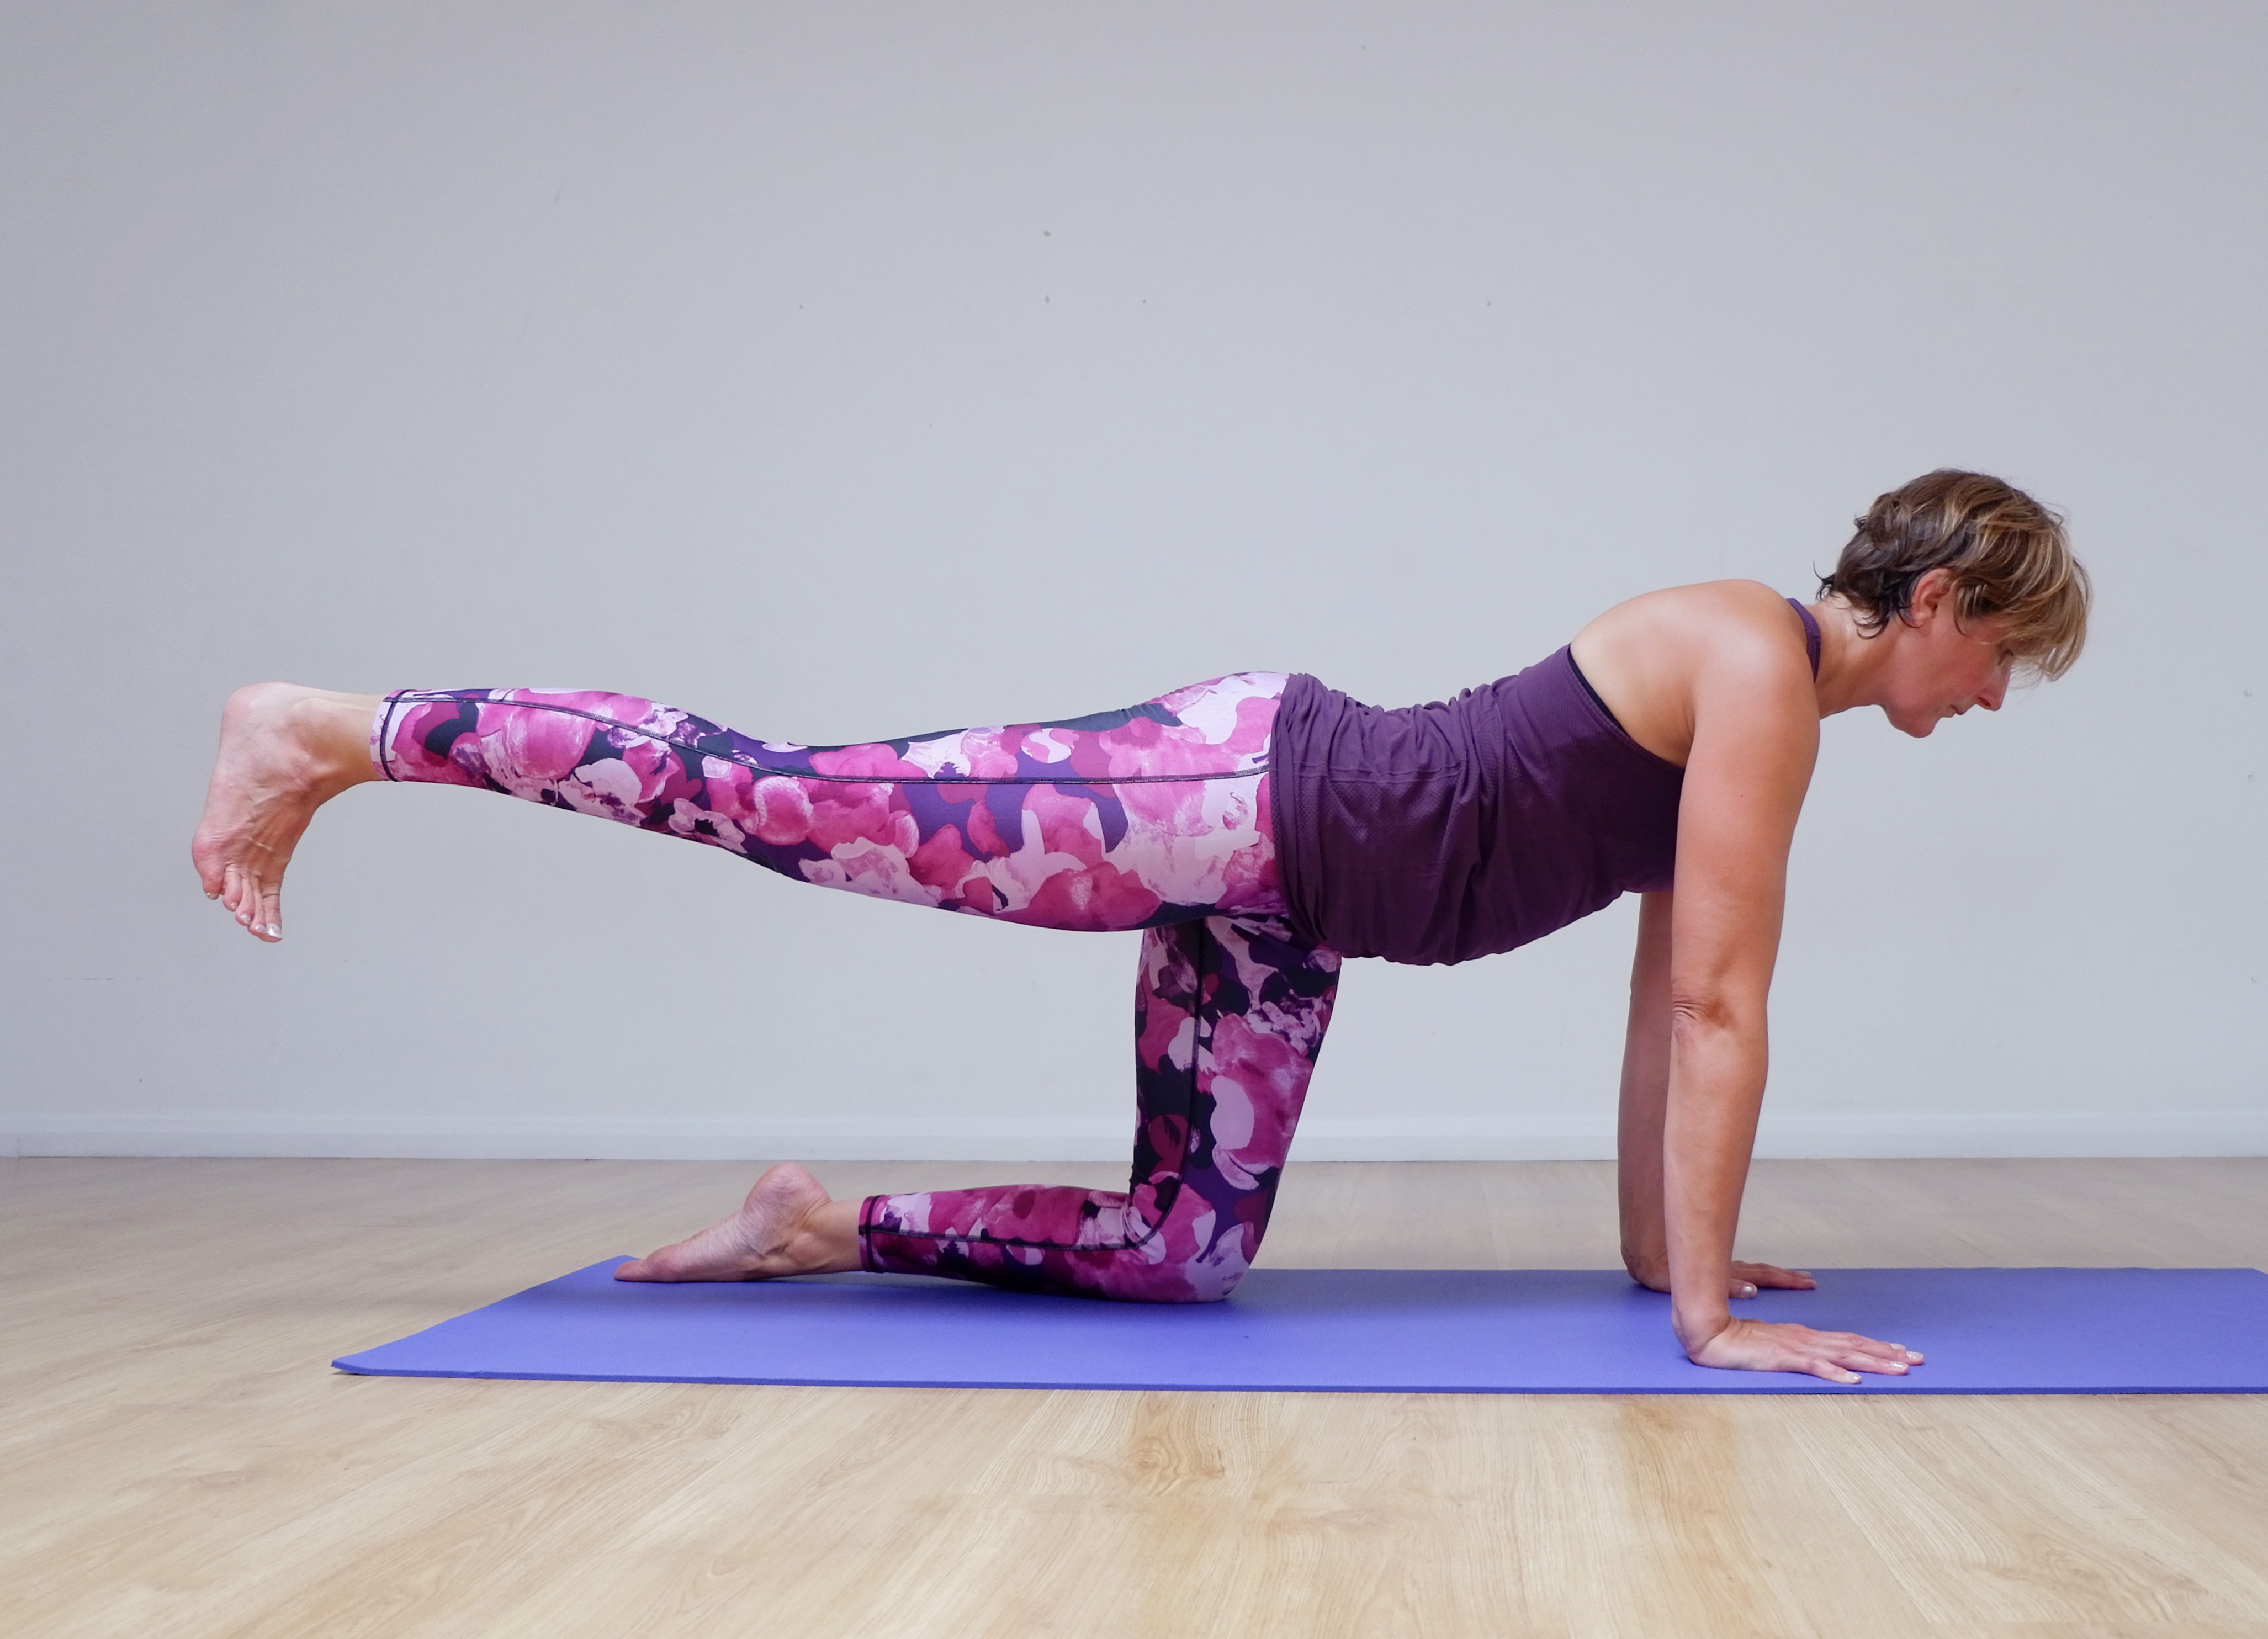
- Engage in 4-point kneeling variations, such as reaching one leg back and rocking forwards and backwards, to build upper body strength and stretch calf muscles and hamstrings – I offer this as an alternative option to full Doward Dog.
- Again, while 4-point kneeling, explore reaching one leg or one arm while maintaining neutral spine alignment, stabilizing the scapulae and lumbar-pelvic region.
- Practice curling the toes under, hovering the knees, and sending the tailbone back to cultivate awareness of leg strength, lower body stability, and maintaining a neutral spine during transition into the posture.
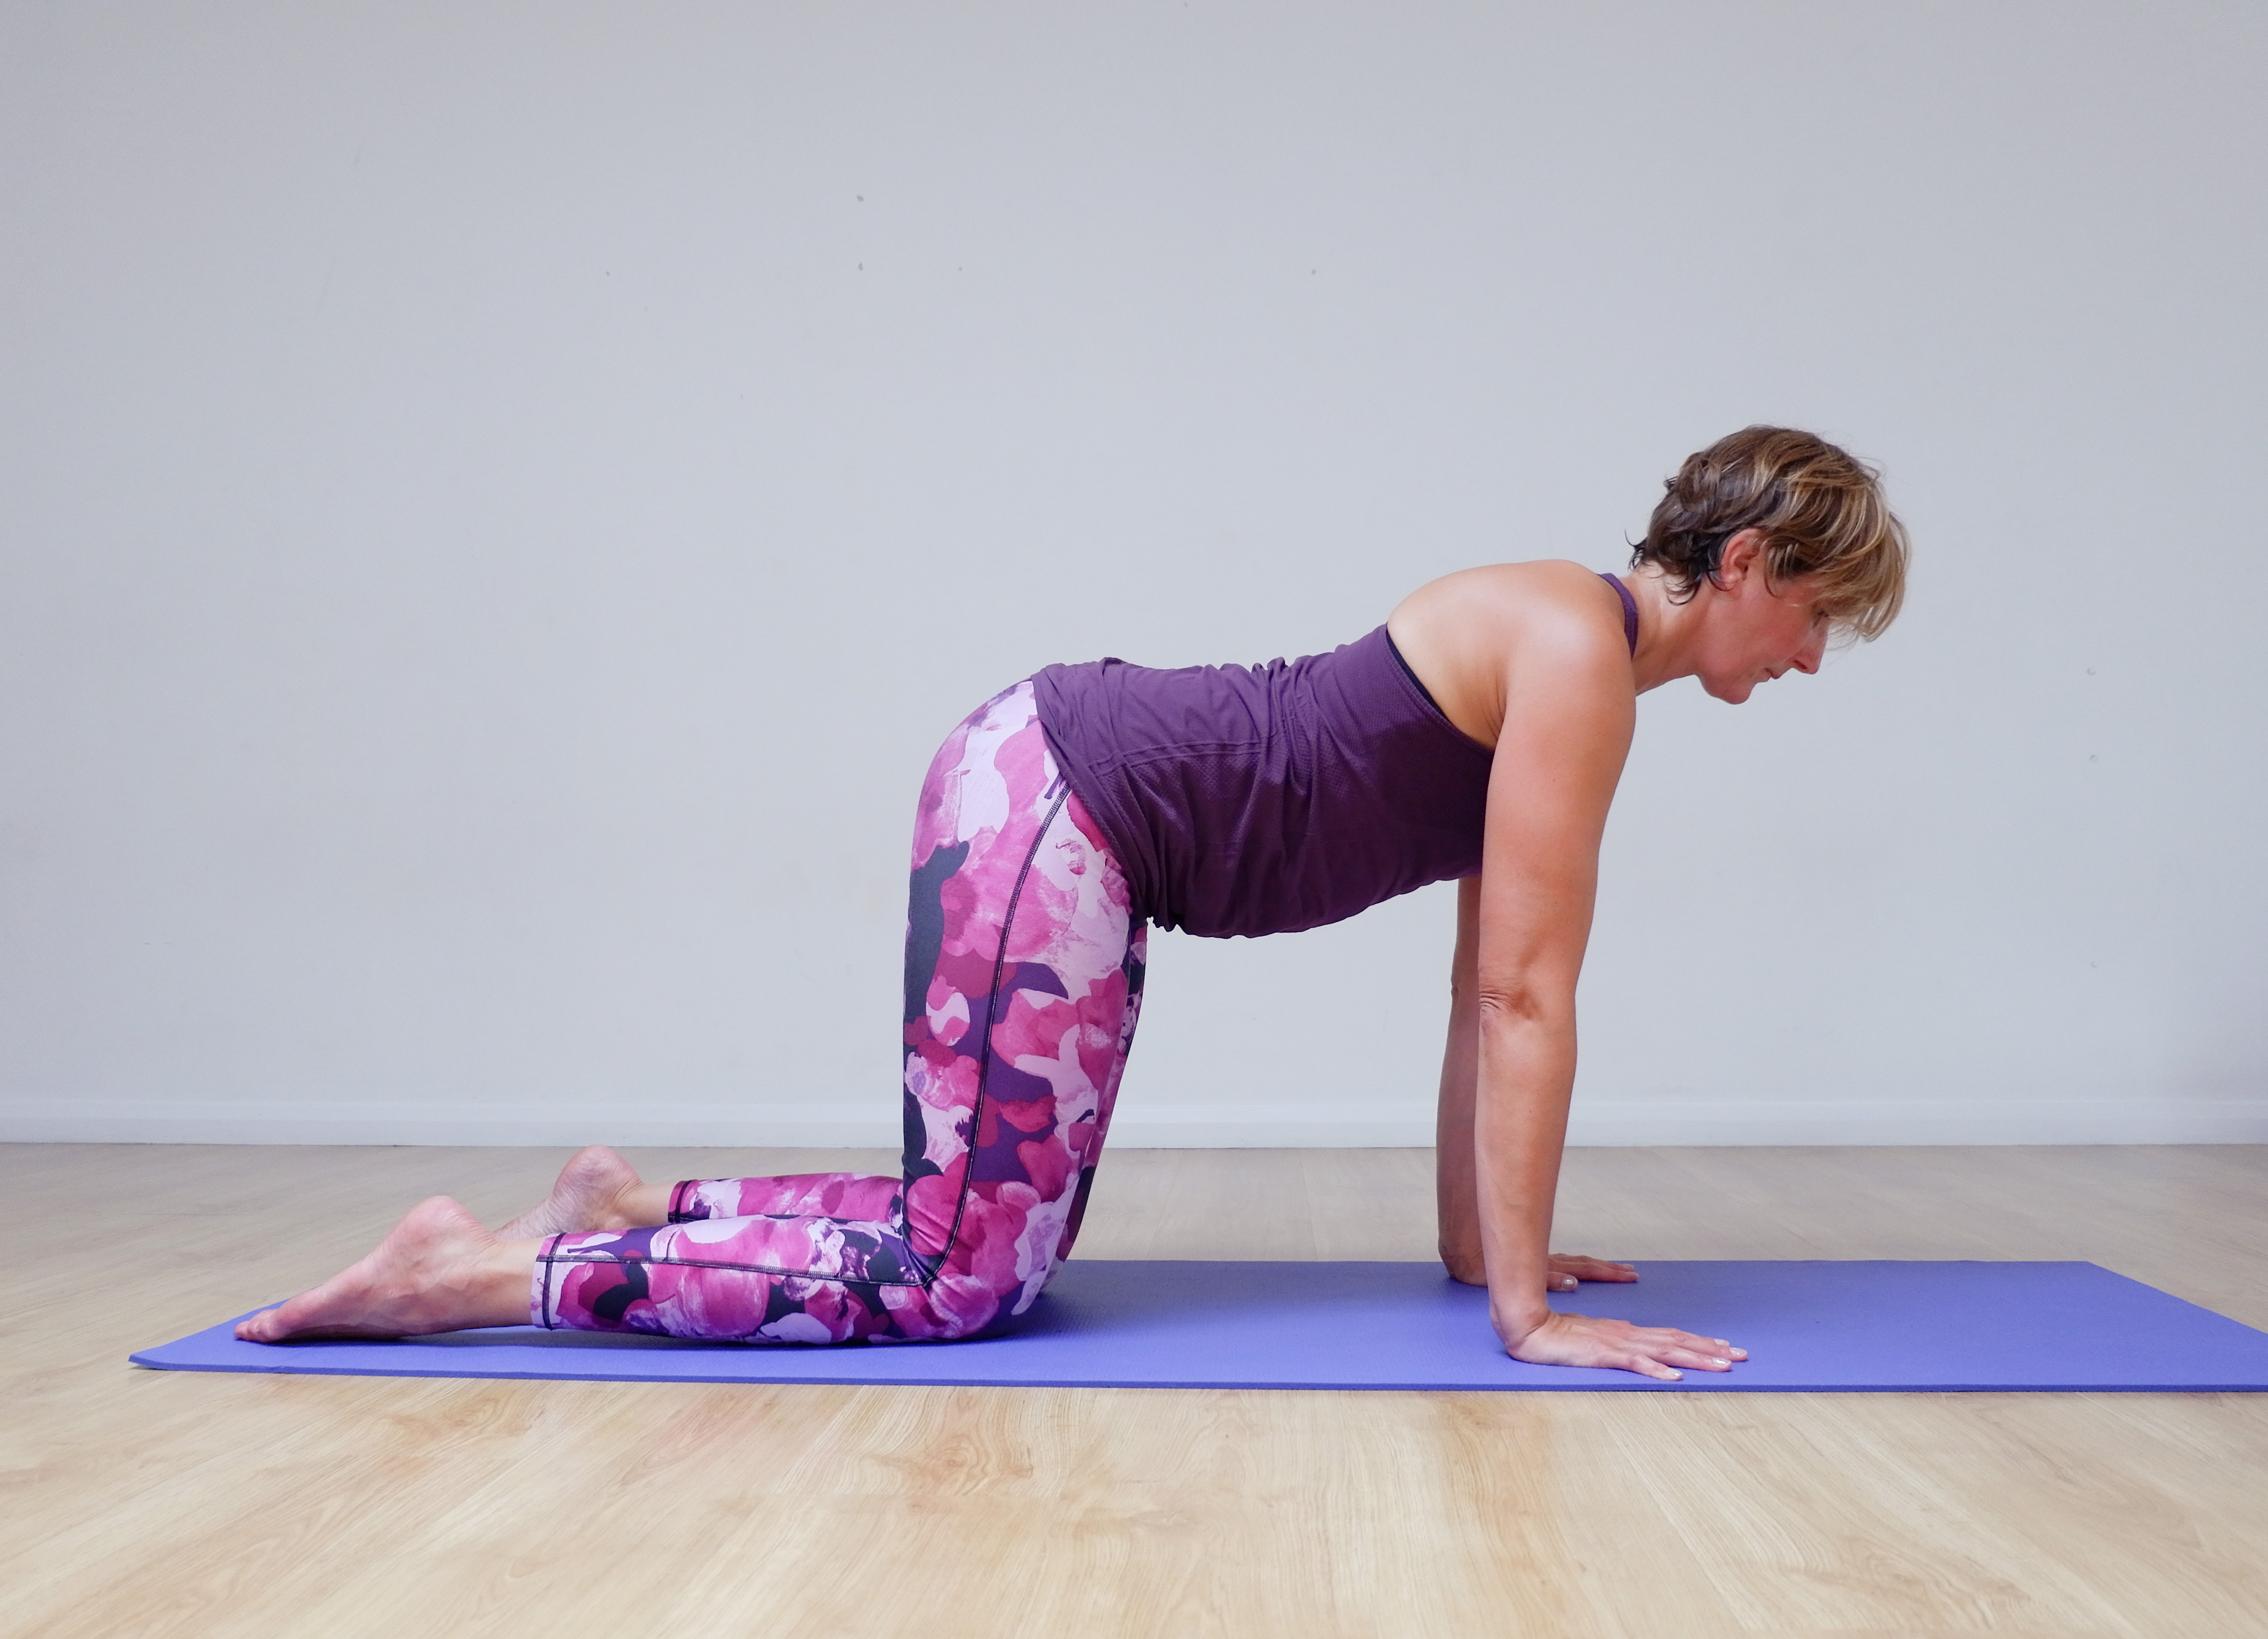
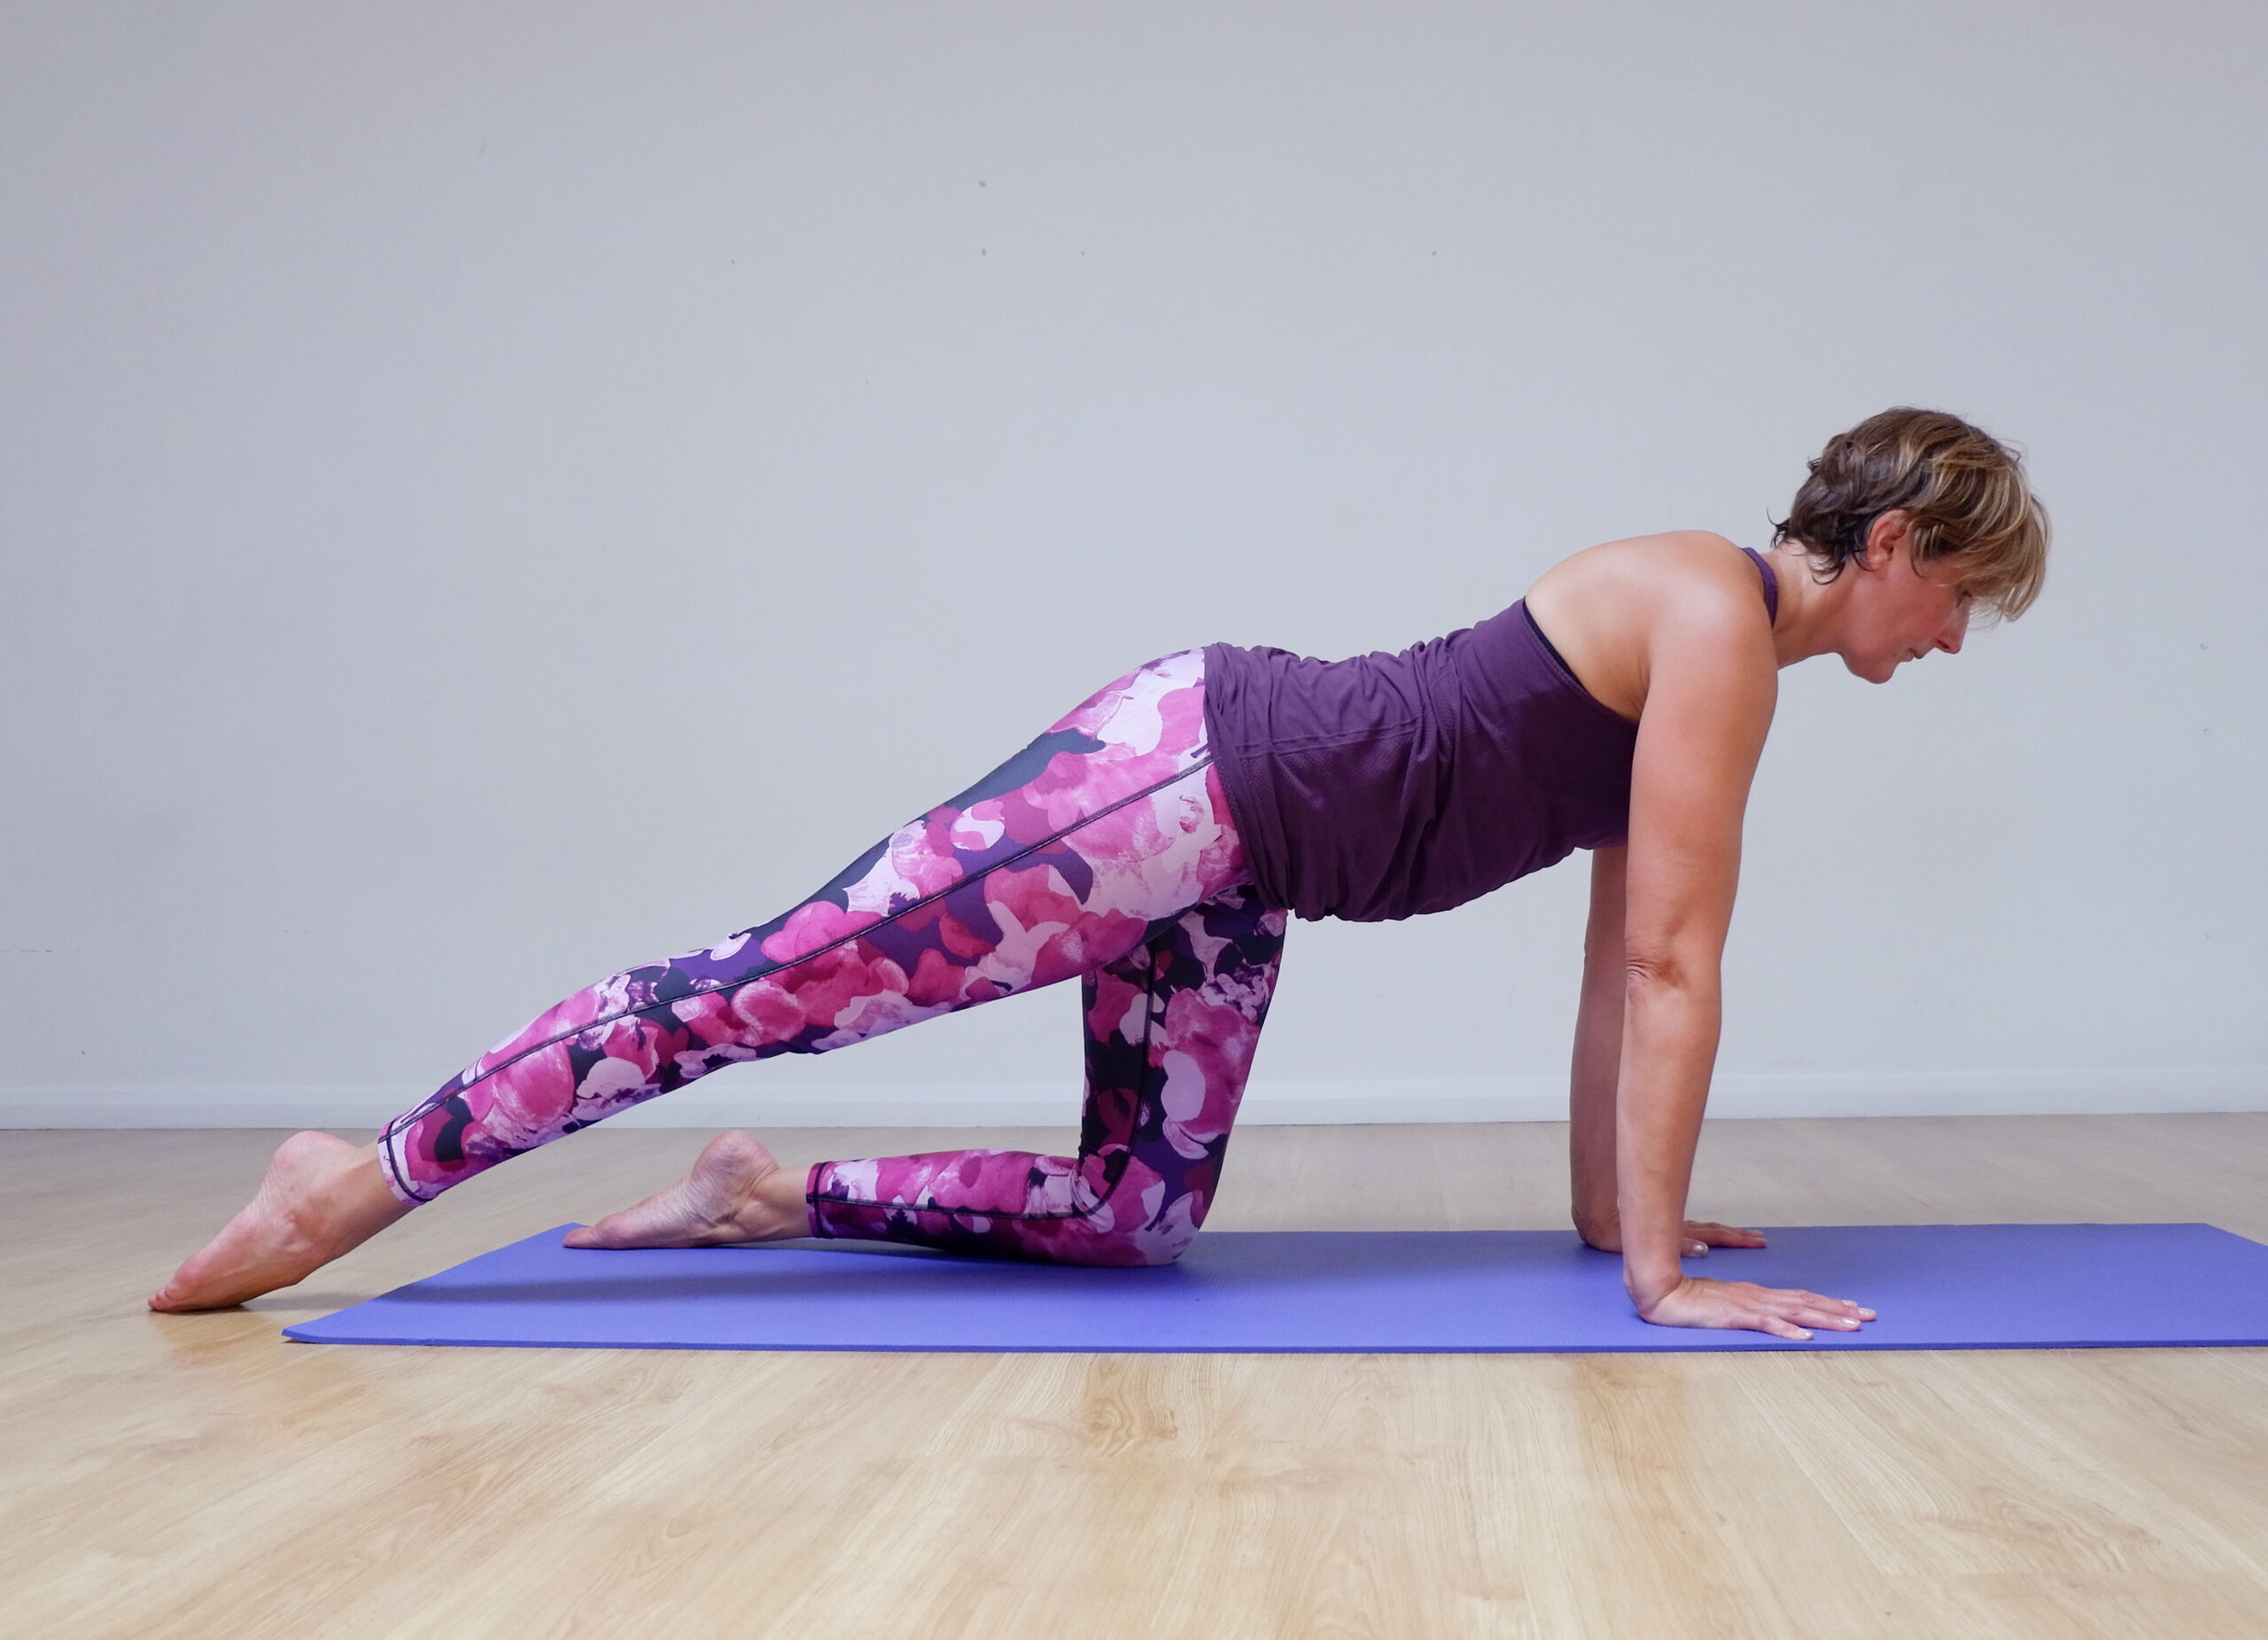
Top to Toe Cues for Accessing a More Easeful and Mindful Downward Facing Dog:
- Turn your hands slightly outward to externally rotate the shoulder joints, creating space across the chest and engaging the serratus anterior muscles into the lats.
- Spread your fingers wide and root down through the knuckles of your hands.
- Press into the outer edges of your little fingers, helping to activate the shoulder joints and stabilize the scapulae due to the fascial connections up the sleeve of the arm.
- From a 4-point kneeling position, curl your toes under, lift your knees as if coming into a squat. Use your leg strength to press up and send your hips back, this will help to reduce the likelihood of overloading the wrists and shoulders and help to embody a neutral spine.
- Maintain a micro-bend in the elbows to prevent hyperextension.
- Keep your knees soft and prioritise length through the spine over reaching the heels to the floor.
- Option to walk your legs out to release tension in the hips and legs.
- Lower your heels as far as comfortable without compromising a long, neutral spine, and lengthen your legs without locking out the knees. Consider rolling up a yoga mat to support the heels and keeping the knees soft or bent as needed.
- If your spine is hyperextended, draw the ribs down towards the hips to increase activity and stability.
- Maintain your gaze/eyeline between the knees, eventually transitioning to drishti at the naval – nabhi chakra.
- Draw the triceps down towards the ground to engage the upper arms.
- Press the hands and the feet down and away to distribute tension evenly throughout the entire network (stability comes from anything that is in contact with the floor, so the hands and the feet are equally important) – ‘spread’ to engage.
- Energetically press the heels of your feet away from each other to create space in the lower back, and press the heels of your hands towards each other to open up the shoulders and heart.
- Imagine drawing energy up from the earth through your hands to your armpits as you inhale, and exhale energy down through your pelvis, legs, and feet.
- Visualise the breath traveling up and down the midline of your body as you breathe in and out.
- Breathe steadily and evenly, maintaining a relaxed yet focused state.
- Bring your awareness to the space behind your pubic bone to deepen your connection with the subtle energy body.
Though my yogic understanding has deepened and my practised body has become more adept, I can now appreciate why Downward Facing Dog has been traditionally labelled a resting posture. However, I’d advise against categorising it as such in a class without context. While it does provide relief from the weight-bearing challenges of poses like chaturanga and planks, it pales in comparison to savasana, where the body is fully cradled by the earth, allowing for complete absorption with nature. This is the ultimate rest pose and there is, quite simply, no comparison!
If you are interested in training to teach yoga, find out more about our 200hr Teacher Training Course here. For qualified teachers looking to teach from a more holistic and integrative approach, you may find our hands-on assists or fascia series of CPD workshops of interest. We also have a variety of CPD courses available to book throughout 2024 & 2025.
Here is a copy of the class – I hope you enjoy it and that it helps your downward facing dog to become more restful! If you’re local to Brighton, I teach a Strong Vinyasa class on Wednesdays 7pm at Revitalise where each week is carefully themed around a ‘peak pose’ to prepare and build up to it.
We recommend a yoga strap, blocks and bricks for this mixed-level class.
Clare Francis and Harmonise Training Academy are unable to accept any responsibility for any injuries sustained during participation in any of their videos. Please ensure you consult a doctor before starting any new exercise or should you have any concerns during or afterwards. Make sure you have plenty of space around you and listen to your body.
Article by: Clare Francis
