Teaching beyond the Mat: Step off, engage, and transform your classes with confidence.
Are you using your mat as a security blanket?
Discover the power of stepping off the mat, why facing your students matters, how mat placement and mirroring can be a game-changer, and how to do it all effectively.
As teachers, there are already so many things to remember and consider. So it’s only natural that some skills will be crafted and refined the further along your teaching journey you travel.
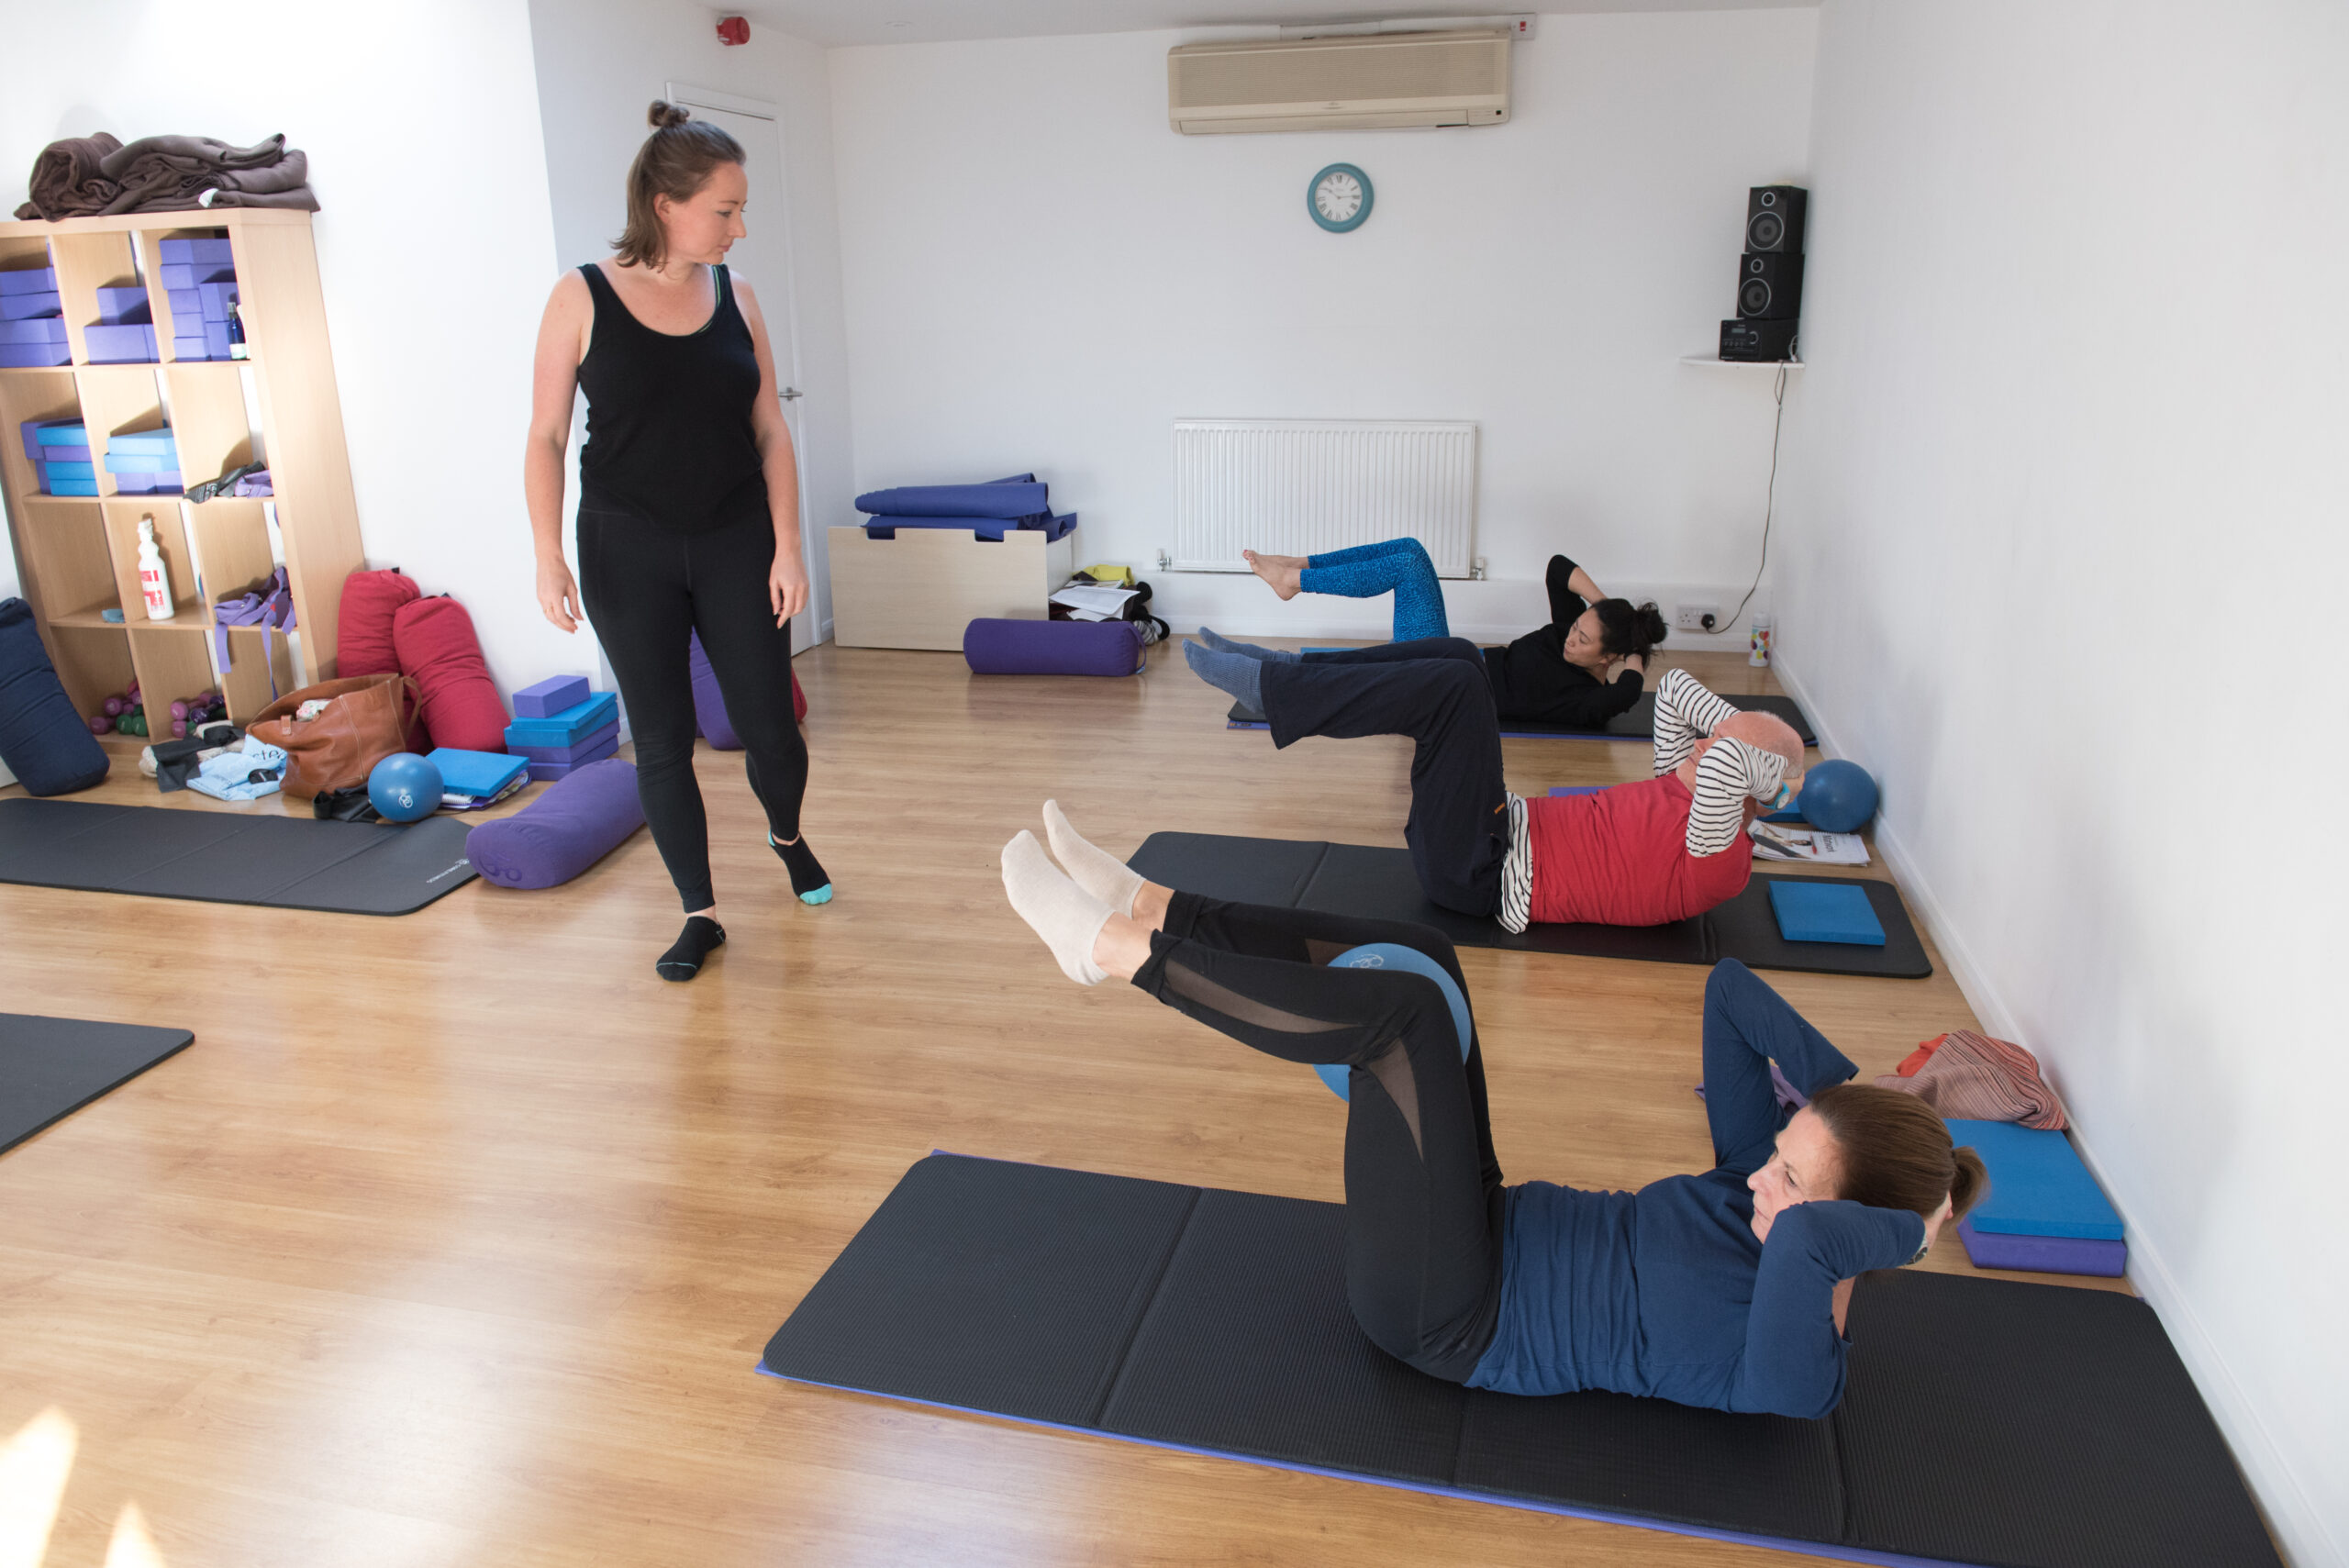
Recently, I’ve observed something while attending classes: many teachers stay rooted on their mats at the front of the space, facing forward for the entire session. This happens in both Pilates and Yoga, even when students are turned to the side or back of the room.
It’s something I’ve seen in our teacher training courses too. In those early stages, as people first start teaching, there is often an element of fear present and the mat can easily become a security blanket. It feels safe to stay put. But as confidence grows, trainees learn to step away from the mat, observe their students, and cue based on what they notice in the room. Something as simple as moving to face your students can make such a big difference to the class experience.
Even if new teachers have been taught to face their students and move around, the bottom line is, it takes confidence to get up and do it. I know this isn’t an easy skill, but it’s one worth developing.
So here are my top 10 tips for facing your students, moving confidently around the room, and engaging with the whole class – to truly transform their experience.
1. Assess the teaching space
Before you start a new class, take time to visit and assess the space (or revisit an existing space with fresh eyes). What set up will make it the easiest for your students to face you as much as possible? Sometimes a circle layout works, sometimes front-facing rows are more effective.
2. Set up the room to support visibility
Arrive at your class with enough time to allow you to arrange the mats in a format that helps students see you clearly, this can also enable you to maximise space. Some studios even mark mat positions with tape, which can be a helpful option depending on your teaching setting.
3. Stagger mats for better sightlines
If you have multiple rows, stagger the mats to maximise the potential for the students in the middle and back of the space to still see the front – this can help avoid someone directly in front blocking their view.
Sidenote: If the class involves large movements (like arm circles), ask students to stagger themselves on their mats prior to teaching the exercise, to ensure they have plenty of space.
4. Create space for demonstration & moving around
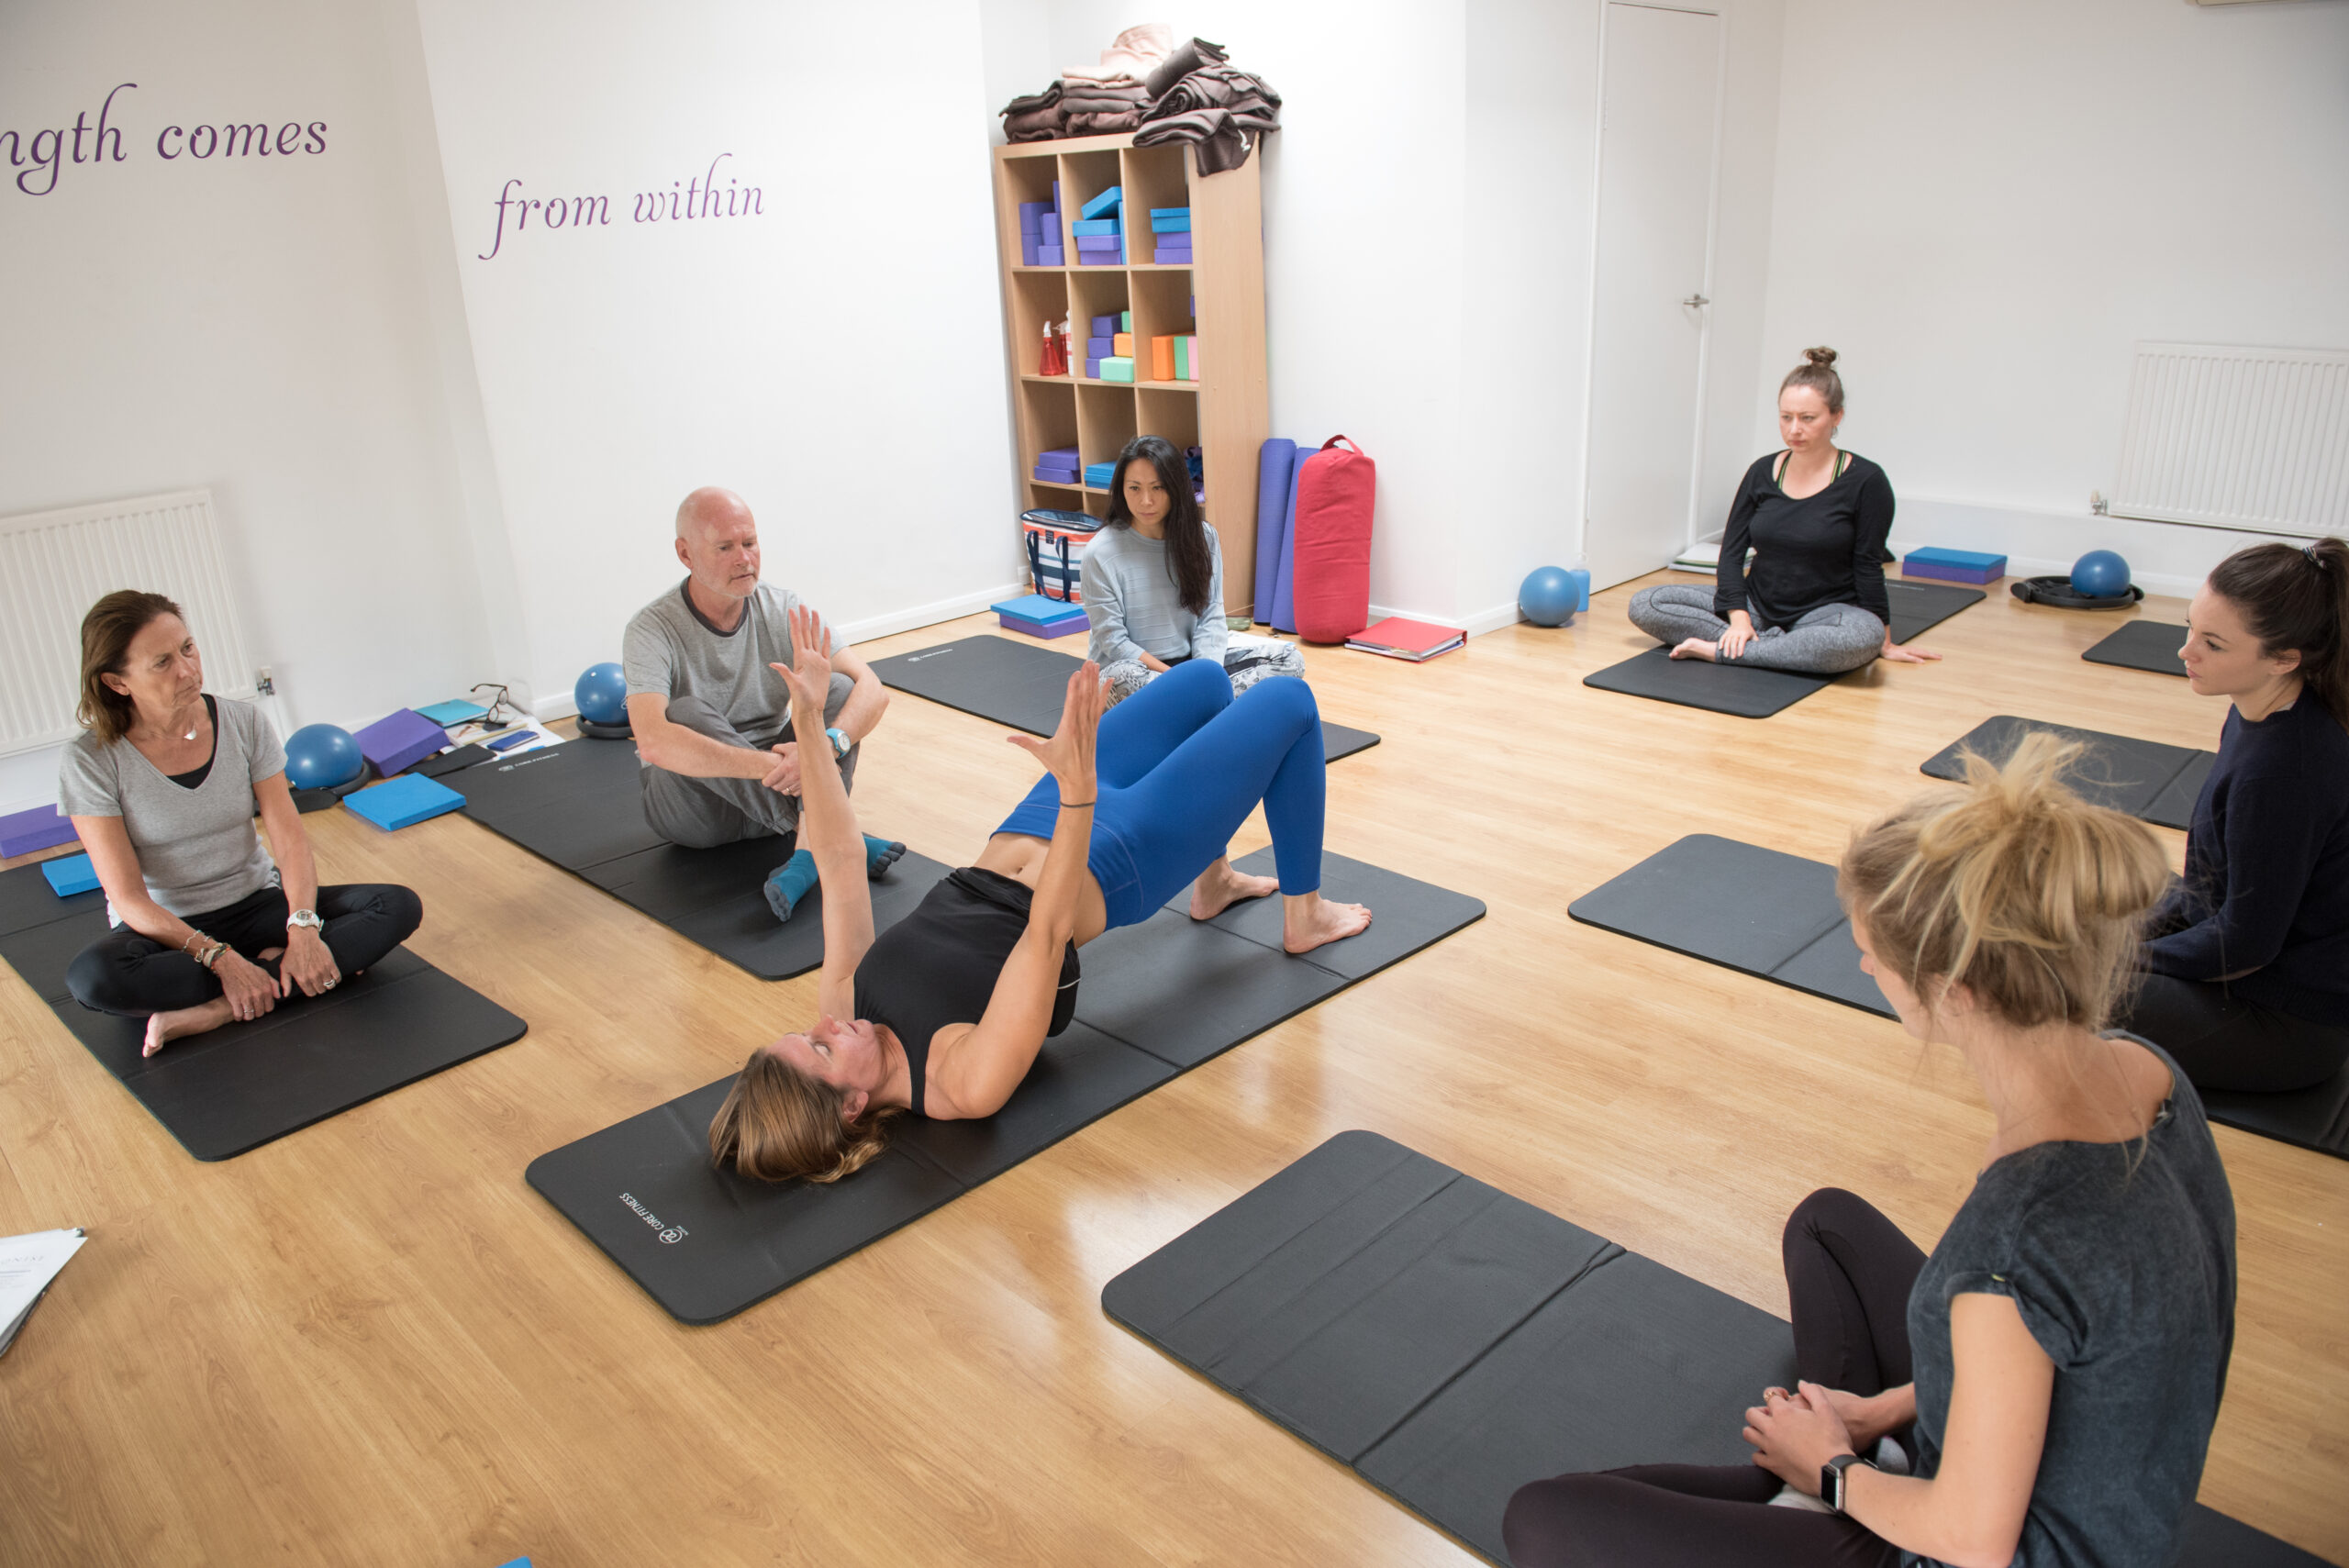
Even in smaller spaces, make sure you leave enough room between mats so that you can walk among your students. When I taught in a small space with a maximum of 8-10 students, there were 2 rows of 4 – 5 mats and I left a column down the middle, allowing me to walk up and down to observe, support and demonstrate. As mentioned above, staggered mats also give you space to move between mats, and to demonstrate beside a student who might need extra guidance, without disrupting the flow and whilst still cuing the whole class.
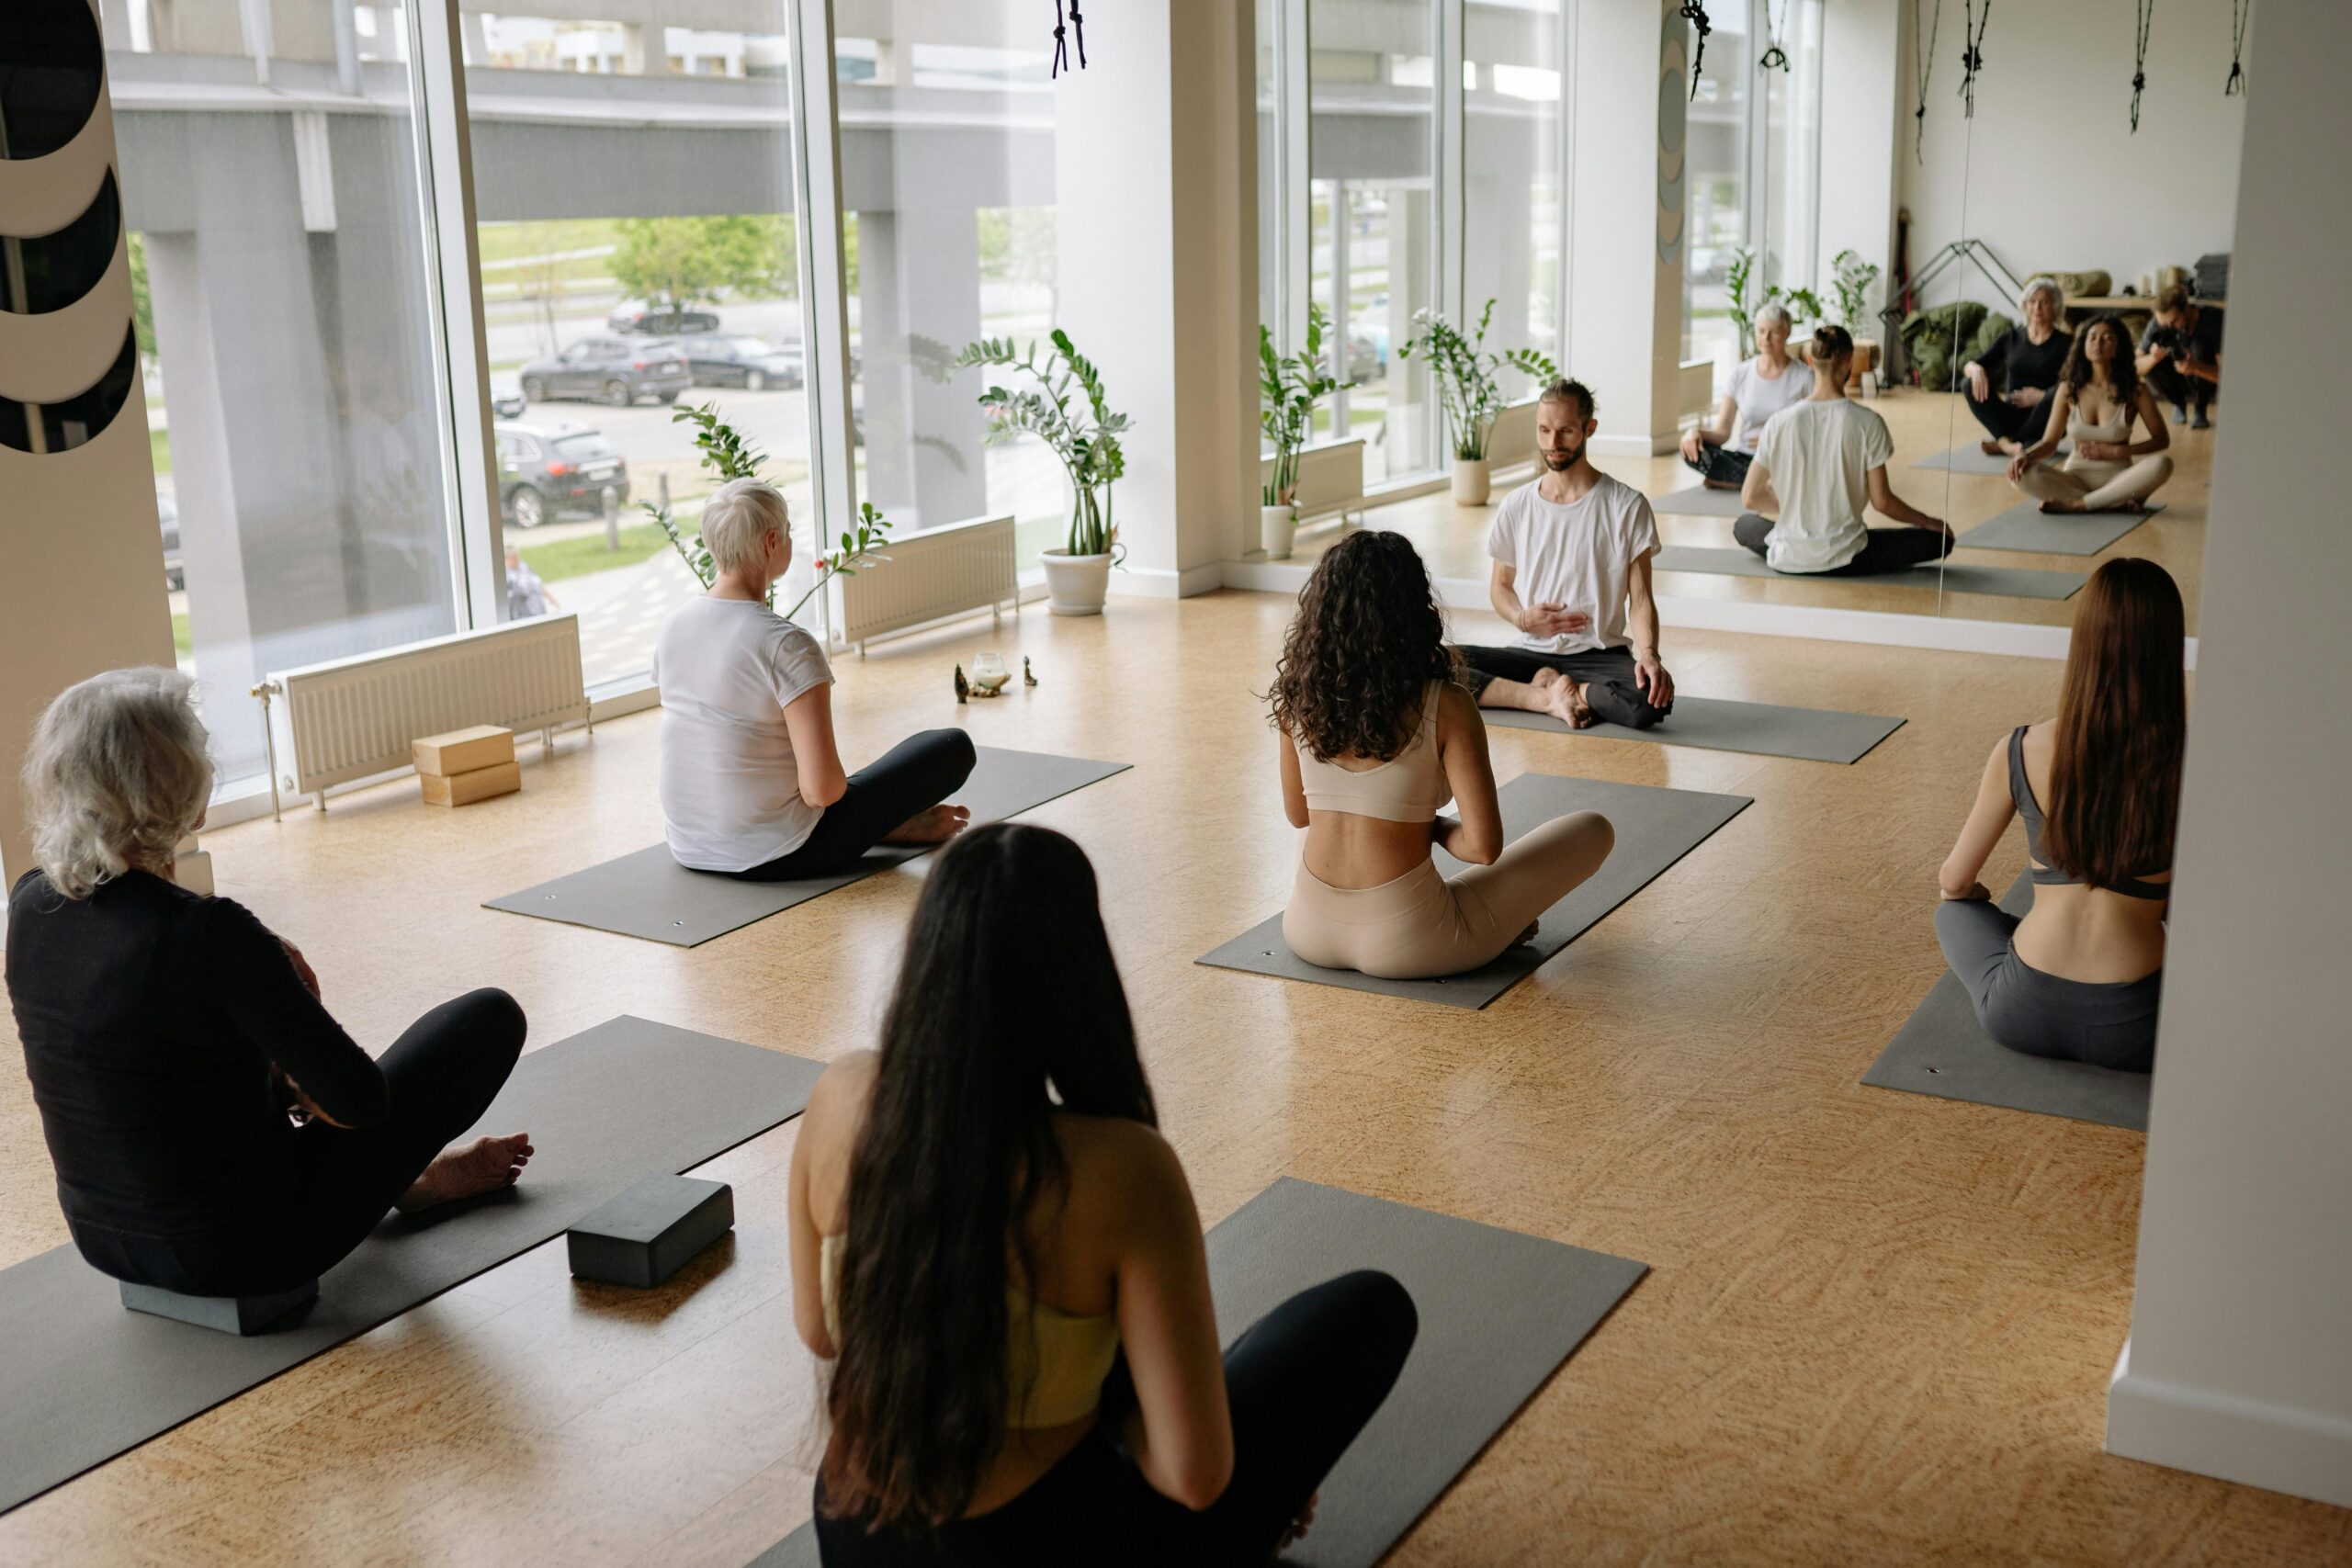
5. Experiment with a circle layout
This non-hierarchal set up helps to foster a sense of inclusivity, it also gives you options on where to place your mat and yourself.
Your mat could be placed as part of the circle alongside your students, or you could have your mat in the middle of the circle. The first makes cueing easier as you won’t need to mirror; the second gives you the option to demonstrate more easily, be easily visible to all, and move around to face students when the whole class turns to face the same way.
Even better – if you have the space, lay out a mat for yourself in the middle AND as part of the circle and move between the two. This allows you to achieve everything above, and this setup can also remind and encourage you to move around more.
6. Choose mat orientation wisely
If the space or class genre means you’re better off teaching from the front, decide whether lengthways or widthways mats work best for your students. Lengthways is often more practical, depending on the size of space and number of students. However, consider the style and sequence itself carefully, and how it may lend itself more to one or the other.
7. Add a side mat for lateral exercises
For poses or sequences facing the side (like open hip postures or side leg series), you could even lay a mat at the side of the room ready. Again, this encourages you to reposition and face your students, and makes demonstation easier.
8. Use a cross-mat set-up
Laying two mats in a cross formation allows you to teach face-on or side-on depending on what you are teaching. When teaching side-on, you won’t need to mirror your students. When switching to the second side, simply move to the opposite end of the mat. This way, even if you rotate or turn, you’ll still be facing your students.
9. Try going mat-free
In smaller teaching spaces, I’ve often taught without a mat for myself, which means I teach moving around the room. This is a great way to develop your observational and teaching skills. It’s easier to do with certain class styles, such as Pilates, slower yoga classes, or classes with a set sequence like Ashtanga. Faster or more complex sequences, such as Vinyasa flow, can be more challenging. So, when you’re first stepping out of your comfort zone and learning to leave your mat to face, interact with, and observe your students, start with a simple or familiar class structure. This helps you build confidence while practising moving freely around the room.
10. Practise mirroring
After attending a class recently, I overheard a student comment that she found it confusing that the teacher didn’t mirror her, and that she preferred it when her regular teacher did. This gave me food for thought about the importance of mirroring in helping students follow and move more intuitively, which can in turn support them in being more present during class. Mirroring is a more advanced teaching skill and can take a bit of practice, but like anything else, it becomes easier and more natural over time.
Think of it as teaching into a mirror: as you face your students, you are cuing the opposite side to that which you yourself are moving. So, if you move your right arm, cue their left, and it appears as if you are doing the same movements. I often open and close my hands or wiggle my feet to reinforce left and right when mirroring.
If you get confused, rather than left and right, you can use “front foot/back foot” or use features in the room / space to help direction e.g “face the clock, plant, windows, trees, sea” etc. Once you’ve done one side, you can simply cue students to “do the other side”. When I mix things up, I just correct myself, brush it off and carry on. Students are usually far less aware of them than you are! There are also occasions when I forget to mirror on one side; if that happens, I’ll simply carry on and mirror correctly on the second side to get back on track.
Remember, we are human! Making mistakes is normal. What matters is how we respond. Be kind to yourself, and congratulate yourself for stepping out of your comfort zone to learn and grow. I find mirroring more challenging since menopause, but that’s all the more reason to keep practising. It’s excellent for your neural pathways and connections and gets easier with time. As the saying goes, if you don’t use it, you lose it. Consider mirroring a form of brain training! If it feels intimidating, practise with a friend to build your confidence. And … what better way to practise than in front of an actual mirror!
Building confidence, one step at a time
Managing a room full of people while cueing, mirroring, observing, and demonstrating safely and effectively is going to take time and practise. However, honing these teaching skills will mean you stand out from the crowd as a teacher and help your students feel noticed, included, empowered, supported and safer.
If you sense that fear is holding you back, remember: it’s normal. Take it slowly, and set the intention to take small steps towards towards integrating the above into your classes. Each time you step out of your comfort zone, you grow as a teacher – and your students reap the benefits.
If you’re ready to begin your teaching journey with the right tools to start applying these skills from day one, our yoga and Pilates teacher trainings are the perfect place to start.
For teachers, continuous professional development is key. These approaches are woven throughout our further training courses and workshops, helping you to refine and expand your teaching skills over time. This autumn, you may be interested in our Yin Yoga Level 2 training or Pilates equipment workshops, which will deepen your practice and confidence in guiding your students. Or check out our website for plenty more courses coming up in the new year.
Article by: Clare Francis
